• MAIN
  • MUSIC
  • TABLE
  • DADDY2
  • EVENTS
  • PRESS
  • ABOUT
  • Sign In My Account
Menu

Cooper Boone

  • MAIN
  • MUSIC
  • TABLE
  • DADDY2
  • EVENTS
  • PRESS
  • ABOUT
  • Sign In My Account

Recipes   Breakfast   Lunch   Dinner   Sweeties   Gluten Free  Drinks  Sauces  Holiday  Party   Sides   Snacks   Articles

Latest Recipes
Feb 10, 2015
Cooper’s Flourless Chocolate Raspberry Cake
Feb 10, 2015
Feb 10, 2015
Jan 31, 2015
CooperBowl Chili
Jan 31, 2015
Jan 31, 2015
Cooper’s Turkey Wild Rice Soup
Oct 29, 2014
Cooper’s Turkey Wild Rice Soup
Oct 29, 2014
Oct 29, 2014
Oct 27, 2014
Sweet Pecan Cream Cheese Stuffed Corn Muffins
Oct 27, 2014
Oct 27, 2014
Oct 15, 2014
Rosemary Infused Sweet Potatoes
Oct 15, 2014
Oct 15, 2014
Sep 15, 2014
Roasted Tomato, Red Pepper & Avocado Soup
Sep 15, 2014
Sep 15, 2014
Aug 23, 2014
Triple Chocolate Lava Cookies
Aug 23, 2014
Aug 23, 2014
Apr 20, 2014
Rustic Chicken In 10
Apr 20, 2014
Apr 20, 2014
Apr 16, 2014
Sticky Buns
Apr 16, 2014
Apr 16, 2014
Apr 13, 2014
Easy Pesto
Apr 13, 2014
Apr 13, 2014

The Art of the Gift

November 20, 2013

The art of the homemade gift is fading. I remember as a kid making many of the gifts I gave.  In fact, my first tween girlfriend, Julie Lowry,  was the recipient of my basement made agate necklace.  With the help of my crafty neighbor Christopher’s rock tumbler, I fashioned a large polished stone from the corn field onto a cheap silver chain and presented it to her at the Skatin’ Place on a wintery Saturday night in 1976. She loved it, and gave me my first kiss stained with orange Bonnie Bell Lip Smacker.   It makes me sad that the tradition of making home spun gifts is dying.  Yet, I remain hopeful! If you think about it, the art of cooking and baking is one of the last vestiges of the self-made offering.

What I love about my cupcake in a jar, is it that it makes the cupcake more presentational and glam.  Simply take your favorite cake batter (mine is hands down my Chocolate Zucchini Yogurt cake) and fill your mason jar a little over ½, set on a cookie sheet and bake at 350 until complete (about 20-25 minutes). You don’t need a water bath for this I promise.  Allow the cupcakes to fully cool.  Decorate with frosting, candies, sprinkles or shaved chocolate…whatever floats your boat.  Attach your lid and tie a string around the top with an eating utensil and BAM!  You have a killer gift made with heart.  When I serve this for dessert, everyone makes happy sounds when presented with this on the table.  It’s a childhood smile in a jar!

Print Friendly and PDF
In Table Tags DIY, Party
Comment

Blueberries, Bears and Buckle

July 21, 2013

We’re now approaching blueberry season here in Pennsylvania.  While I love blueberries and all the great anti-oxidants and nummy qualities they possess (yes, I’m aware I just used the word nummy), the actual picking of them is a pain in the ass. Today was especially slow going, hot and humid with Jurassic Park sized mosquitoes en masse. Does that stop us from picking? Hell no! We’re cray cray, remember? Each armed with a coffee can and a string attached (see pic below), me and Mark headed out to wrestle mosquitoes and bears for mother nature’s treats.  Bears?  Oh yeah. Bears LOVE blueberries.   Squirrel moment… change of topic. One of my favorite stories is when my friend Ana was blueberry picking and looked up to find a black bear gulping down berries on the other side of the very bush she was picking!  She kept on picking and the bear kept on eating as if nothing had happened. That’s our Ana. Now if that were me, I’d leave behind the berries, the can, my cell phone, my pride and Mark in 2 sec with a cartoonesque trail of dust behind me. I think of Ana every time I nervously reach into a blueberry bush with eyes wide open. Isn’t it funny how some stories never ever leave your mind?

Annnnnd we’re back. When we returned to the farm with our harvest, I dove right into making my Blue Berry Buckle, a treat that always gets major points at the farmhouse table. I know you’ll enjoy this recipe for years to come.

Just waiting to be picked.
Mark with his Blueberry Can/String in the blueberry patch.
The Harvest! A coffee can and a string make the perfect blueberry bucket!
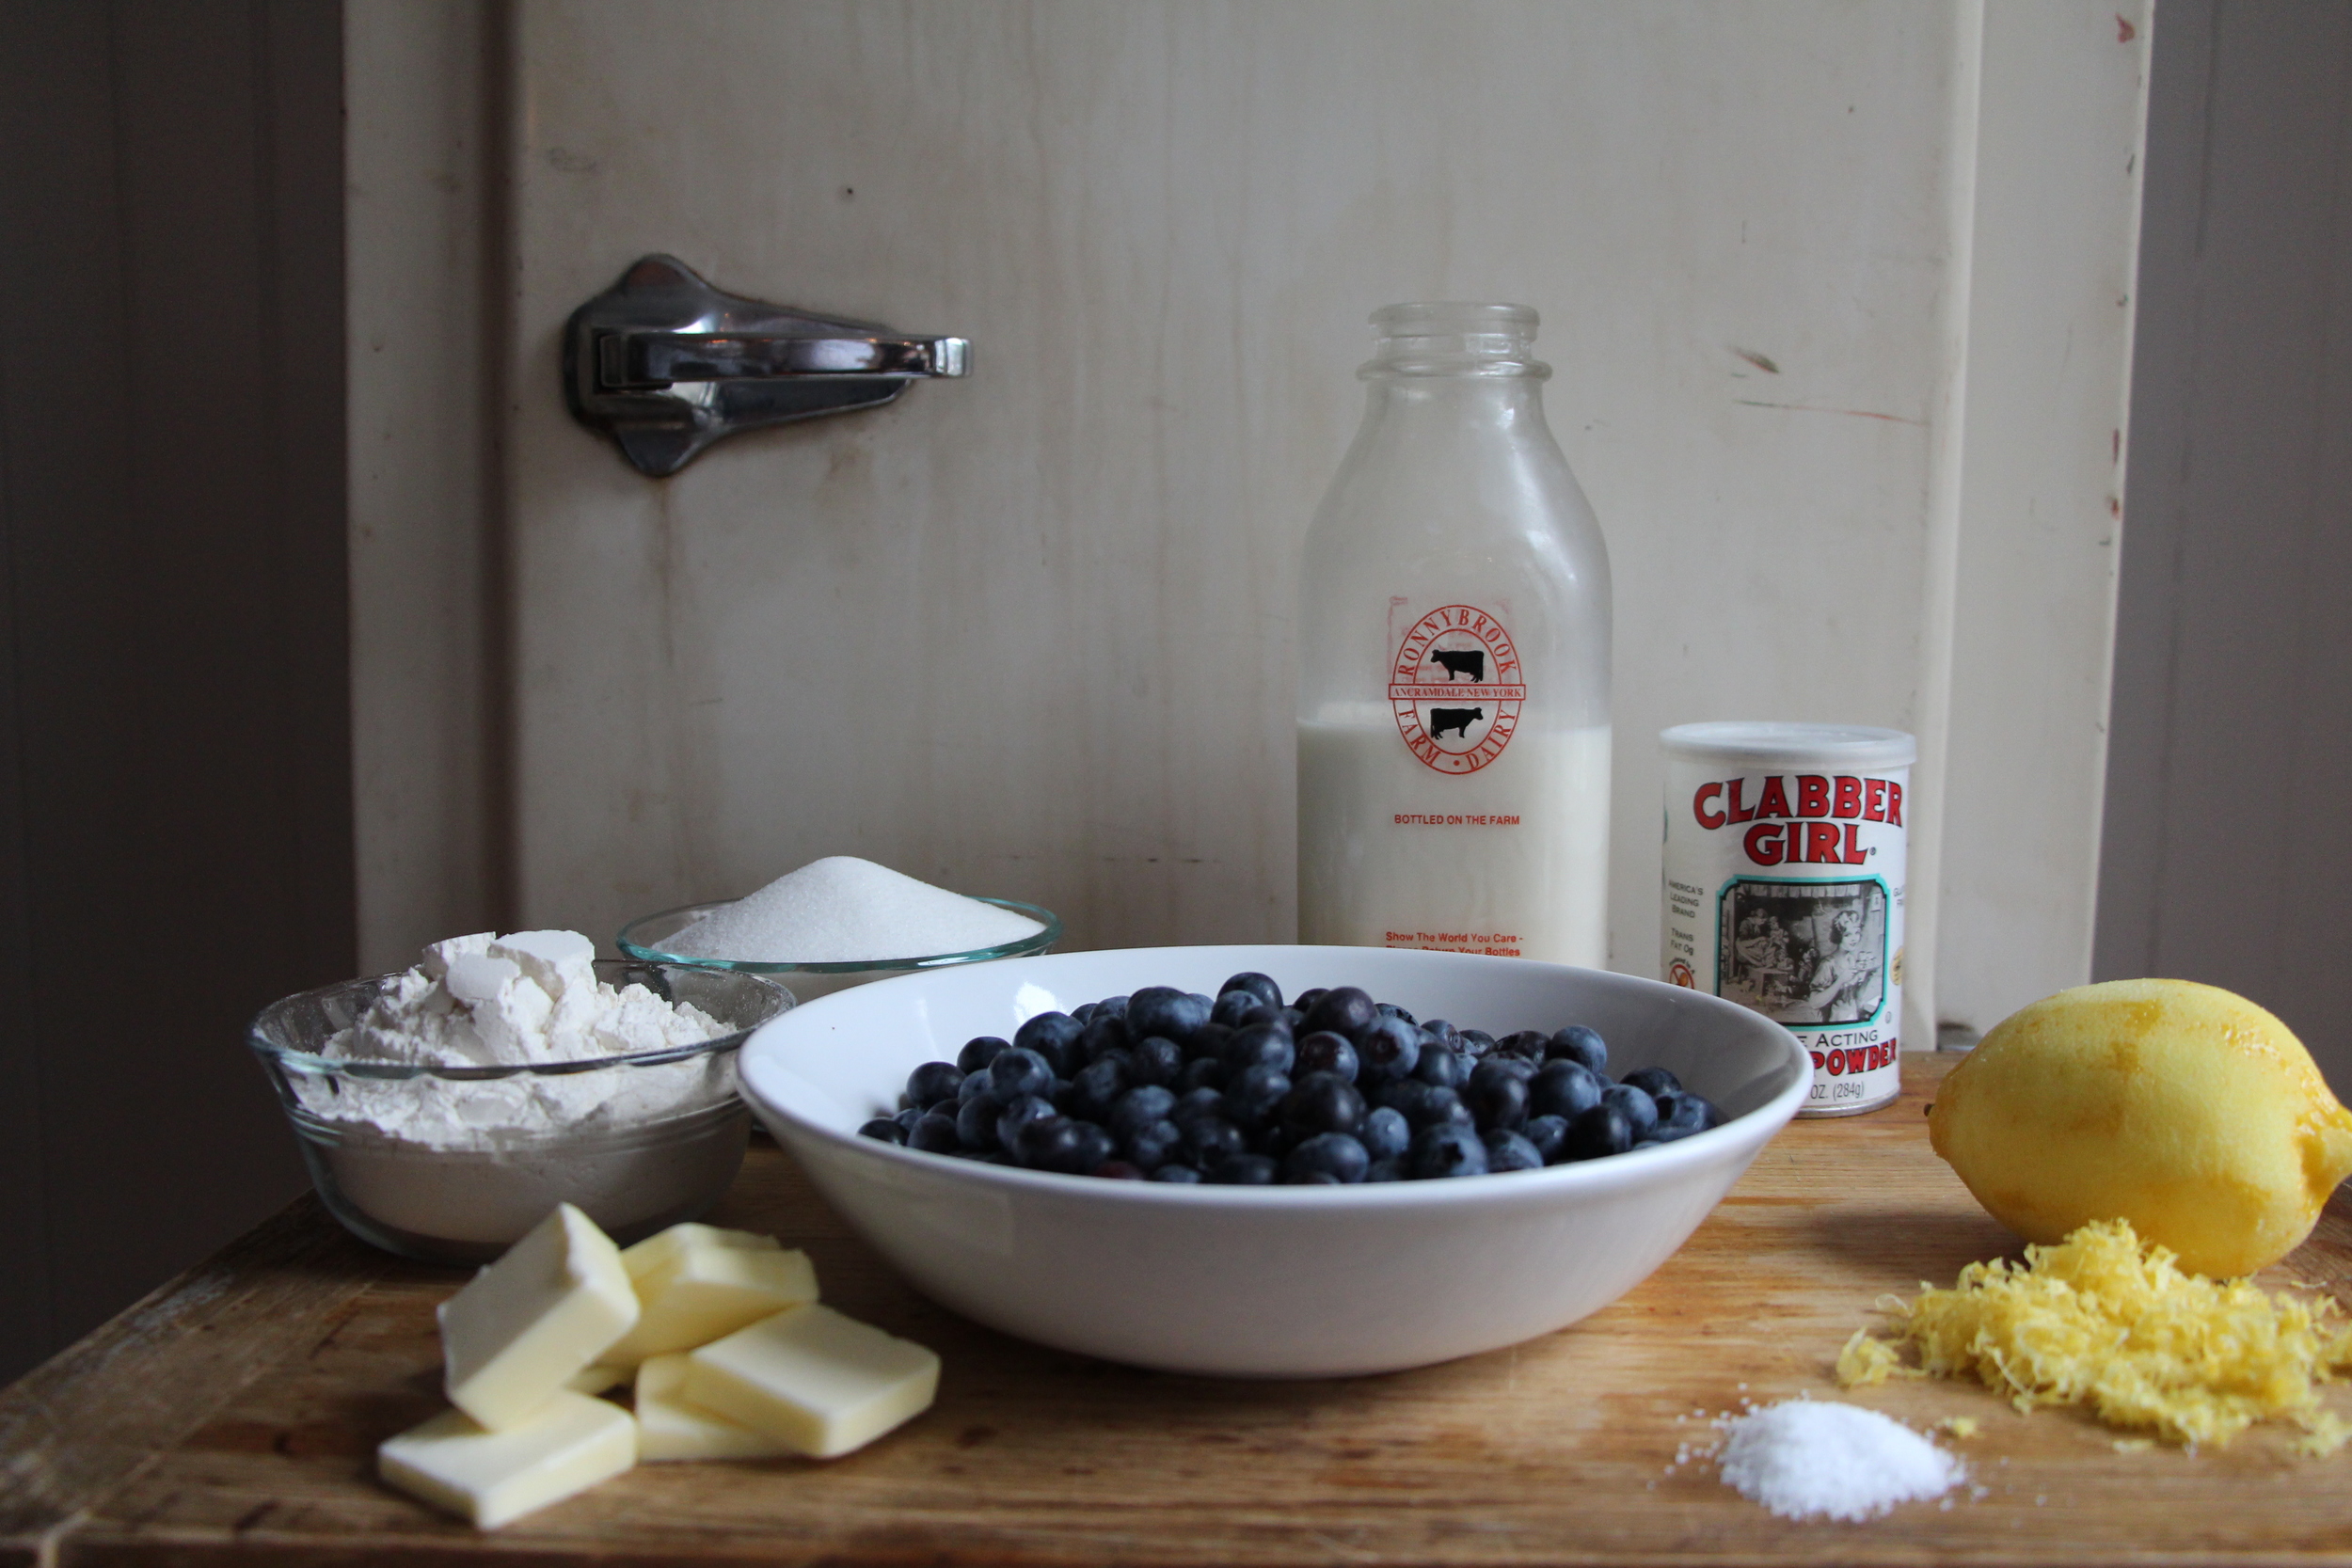
Ingredients
Ingredients
Can you smell it? Mmm!

Blueberry Buckle

Ingredients:

4 tablespoons unsalted butter cut into 4 pieces, 8 tablespoons melted and cooled

1 ½  cups sugar

3 teaspoons grated lemon zest

4 cups blueberries

1 ½ cup all purpose flour

3 teaspoons baking powder

3/4 teaspoon salt

1 ½ cups whole milk


Instructions:

1. Place oven rack in middle position. Heat oven to 350 degrees. Place 4 tablespoons cut-up butter in baking dish and transfer to oven. Heat until butter is melted, 8 to 10 minutes.

2. In food processor, pulse 1⁄4 cup sugar and lemon zest.

3.  Roughly mash blueberries in bowl and set aside.

4. Combine flour, 11⁄4 cups sugar, baking powder, and salt in large bowl. Whisk in milk and 8 tablespoons melted, cooled butter until smooth. Remove from oven, transfer to wire rack, and pour batter into prepared pan.

5. Dollop mashed blueberry mixture unevenly (in random clumps) over batter. Evenly sprinkle lemon sugar, and bake until golden brown and edges are crisp, 45 to 50 minutes, rotating pan halfway through baking. Let buckle cool 30 minutes. Serve warm.

Print Friendly and PDF
In Table Tags Recipes, DIY, Breakfast
Comment

The Art of De-Lousing Chickens

July 5, 2013

Sometimes things will always be DIY, no matter what.  I mean really, who the heck do you hire to “de-louse” your 39 chickens when they get infested with poultry lice?  You don’t.  You do the dern nasty job yourself.  Most things on the farm I really don’t mind doing including cleaning the chicken coop.  I actually enjoy that chore.  However, imagine going in to get eggs and suddenly seeing a mass of black spots creeping up all over your legs, arms, eyes, ears and other body parts I will not mention. It was a bit Amityville Horrorish, running out of the coop like two freaked out teen age girls in a haunted house.  Our feathered ladies, however, were stuck there.  Poor things!  We felt really badly for our girls who were clearly agitated and upset. We then sprang into action.

In a bit of a tizzy, with bugs all over us, me and Mark immediately went to the local Agway store in Monticello, NY.  They were amazingly helpful.  Between the information from them, the internet and from my friend Melissa Caughey who is a chicken expert, award winning blogger and author (www.tillysnest.com), we had a solid plan to rid ourselves and our girls from this hell we were in.

How to De-Louse your chickens:

Step 1:  We cleaned the coop and scrubbed out all the roosts with a solution of ½ vinegar ½ water.  We also scrubbed the floor with this as well.  The girls were quarantined in the outdoor run while we did this.  Once it was dry and the fumes had cleared we let them back in.  You see, we learned that chickens are VERY sensitive to fumes/smells (except for their own crap of course!) which can cause respiratory distress.

Step 2.  We turned the earth in the outdoor run and incorporated Diatomaceous earth into it.  This stuff is natural and basically acts like tiny razor blades against those pesky creepy crawly lice!

Step 3.  We dusted each of the 39 birds with the Diatomaceous earth.

Step 4.  We then added more Diatomaceous earth in the base of each nesting box before placing fresh pine shavings.

Step 5.  The girls then began to sing Gospel spirituals, light up cigarettes and poured cocktails.

Step 6.  We will repeat these steps again in two weeks.  Oh joy.

Ahhhhhhhhh, life on the farm!

Print Friendly and PDF
In Table Tags DIY, Farm
Comment

Ladies Only

April 28, 2013

As many of you know I have chickens.  I love my chickens. They love me back.  I proudly come from farmer stock and must have inherited this from my farmer Grandparents Cecelia and Stuart Root.  Well, the farm now has nine new fluffy White Leghorn chicks (there were 16 but sad to say we lost 7 which often happens.)  Below are a few pics of the young ladies. Ladies only! When I first had chickens I had three horny roosters whom I called the Three Tenors.  Well, that trio didn’t last long. The trio went to a duet, then a solo act then…silence. Ahhhh.  I think the day I butchered that last rooster all the ladies lit up a cigarette and had cocktails in celebration.  They’re now a very content and peaceful all-girl colony.

If you ever decide to embark on chickens be ready for your ladies BEFORE they arrive. Identify your pen location, place your heat lamp and prep your starter food and waterer. When you get a call from the post office that your ladies “have arrived”, go immediately to pick them up or you’ll lose some of your flock.  They are VERY fragile in these first few days of life. Place them under a heat lamp with “just the right” heat ratio.  My lamp is usually about three feet above the girls. For my pen, I use a galvanized stockade water trough.  Where do I get my ladies? I always order mine from Murray McMurray Hatchery  (www.mcmurrayhatchery.com) whom I’ve used for years. They are the most accurate “sexers.” Sexers?  Yes SEXERS!  That means they ensure that you don’t get any roosters!


Print Friendly and PDF
In Table Tags Farm, DIY
Comment

  • Drinks (1)
  • Editorial (3)
  • Green Door (3)
  • DIY (7)
  • Finds (13)

Email Cooper | Press | Policies    Design by OHISO